Git 可是当今最流行的版本控制软件!
第一步,下载Git
https://git-scm.com/download/win
第二步,具体安装
1. 下载好安装包后,打开先选择需要安装的组件(如果不懂就全部安装吧 :) )

附译文:
-
-
-
Associate .git* configuration files with the default text editor
-
Associate .sh files to be run with Bash
-
Use a TrueType font in all console windows
-
Check daily for Git for Windows updates
2. 选择git的编辑器,通常选择 vim
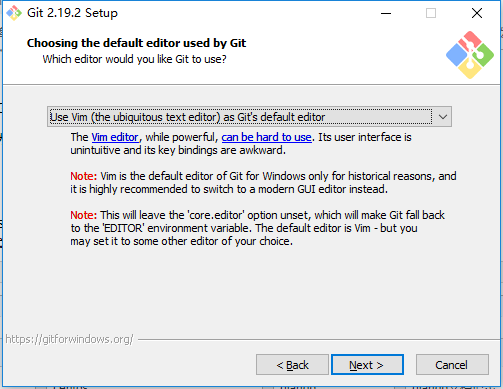
附译文:
-
Use the Nano editor by default
-
Use Vim (The ubiquitous text editor) as Git's default editor
-
Use Notepad++ as Git's default editor
-
Use Visual Studio Code as Git's default editor
3. 配置环境变量-很重要
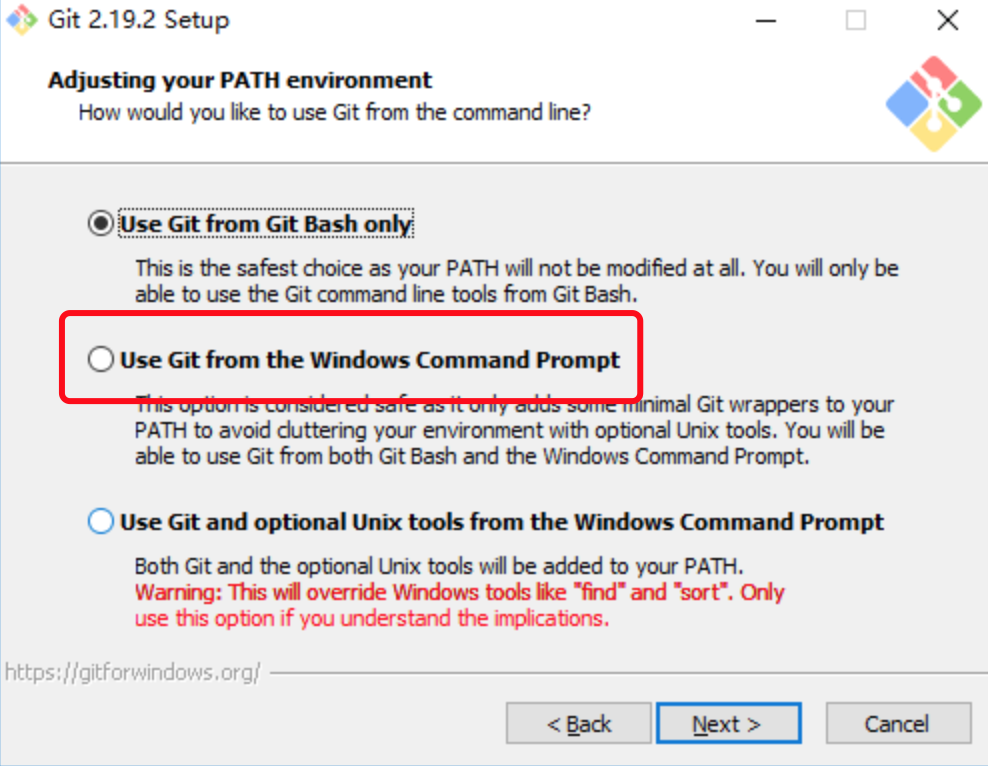
附译文:
-
Use Git from Git Bash only
-
Use Git from the Windows Command Prompt
-
Use Git and optional Unix tools from the Windows Command Prompt
警告:这将覆盖Windows工具,如 “ find 和 sort ”。只有在了解其含义后才使用此选项。
4. 传输设置-默认即可
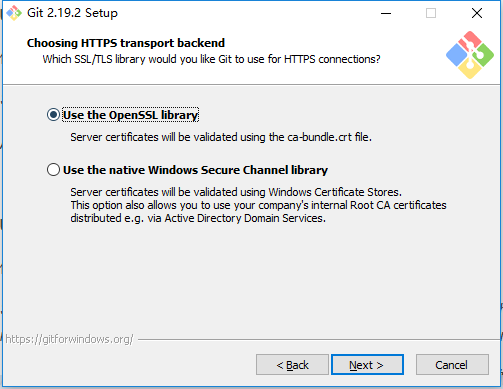
附译文:
-
Use the OpenSSL library 使用 OpenSSL 库
-
Use the native Windows Secure Channel library 使用本地 Windows 安全通道库
5. 配置行结束标记-默认即可
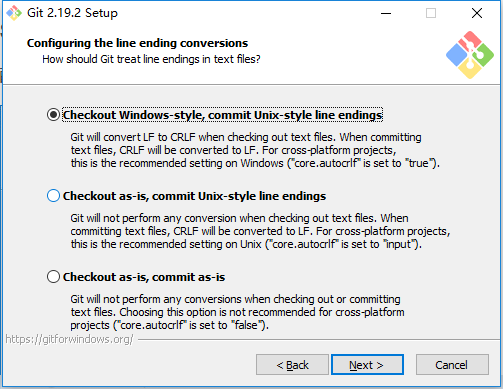
附译文:
-
Checkout Windows-style,commit Unix-style line endings 安装windows方式检出,使用linux方式提交
-
Checkout as-is , commit Unix-style line endings 按原样检出,linux方式提交
-
Checkout as-is,commit as-is 按原样检出,原样提交
6.配置终端模拟器,默认即可
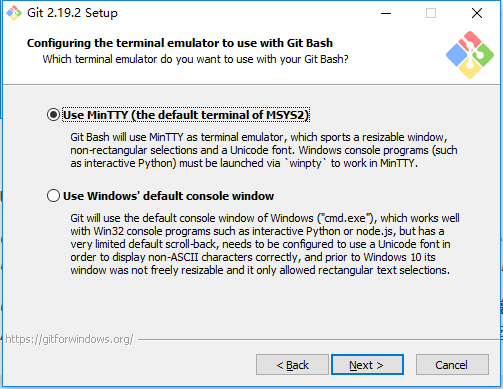
附译文:
-
Use MinTTY (the default terminal of MSYS2) 推荐使用
-
Use Windows' default console window 默认使用windows自己
7.其他配置,默认即可
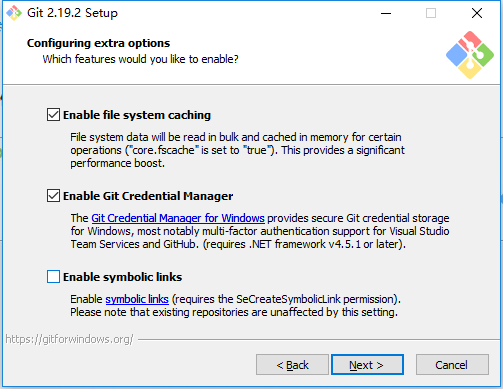
附译文:
-
Enable file system caching 启用文件系统缓存
-
Enable Git Credential Manager 启用Git凭证管理器
-
Enable symbolic links 启用符号链接
Mac电脑安装 Git
第①个方式: 去官网下载安装包直接安装就行
第②个方式: 使用 Homebrew 安装
- 在Mac电脑的终端中执行
/usr/bin/ruby -e "$(curl -fsSLhttps://raw.githubusercontent.com/Homebrew/install/master/install)" - 再执行
brew install git即可完成安装
本文由 @Suremotoo 综合整理,原素材地址忘了~ 😅😅